
It's snowing outside!! How appropriate then for me to share with you my stocking advent calendar tutorial. If you have a snow day coming your way soon, you can stitch up one of these in time for Dec 1st.
The one I'm making will look a little different but here is the one I made for the S
avvy Season's swap.

The one we'll be making here is identical in size.

Ready? Set? Here we go...
You will need:
48 5" Scraps of various fabrics,
1/2 yd of lining fabrics or more scraps
rick rack or ribbon
thread
quilting template plastic
1 yd of background fabric
1 yd of backing fabric
extra fabric for binding
24 buttons
All seam allowances are 1/4"
First off, you will need to create a template using the stocking pattern shown here. Print this out so that the guideline measures 1" For me that's about 100% but it might vary for you, depending upon your printer settings etc.

I traced the stocking onto a piece of plastic quilting template then cut it out. You can find this plastic at any place you buy quilting supplies. However, you can also use a piece of paperboard or cardboard, or even cut it out of a plastic lid. Whatever, works for you.
Trace the stocking pattern out 48 times. I double my fabric, press so it's flat and then trace and cut - that way I'm cutting out 2 at a time and they are exactly opposite orientation. You will need 24 with the stockings facing left and 24 facing in right. I like all my stockings facing the same direction on the final piece, so I make sure I trace them all in the same direction when fabric orientation is important.
I lined all my stockings, so I also trace 48 stockings out of a lining fabric. You can use anything for this since you won't really see the lining. I used some Kona white.
First off you will need to add numbers to the stocking fronts. I used embroidered numbers, but you can do anything here. You can use a fabric marker, or hand/machine embroider the numbers or applique them on. It's up to you!
Now we are ready to sew them together. Place the pieces together so that you have one stocking outside and one lining piece. You will be placing the lining such that right sides are facing.

Then sew a 1/4" seam along the top of the stockings.

Now iron open all the top seams as shown.

Once all your lining pieces are attached. Take two corresponding stocking sides and line them up so that the right sides are facing.

Like so...

Take a 2" piece of ribbon or rick rack and fold it in half. Align the rick-rack along the top seamline towards the back of the stocking. The ribbon is going to be inserted into the side seam of the stocking when it's sewn.


Now sew a scant 1/4" seam around the outside of the stocking. Leave a small 1" opening towards the top of the lining section as shown~

Clip the corners of the curved seams, taking care not to clip the stitching! This will help the curved seams lie flat in the final stocking.

Turn the stocking right-side out as shown~

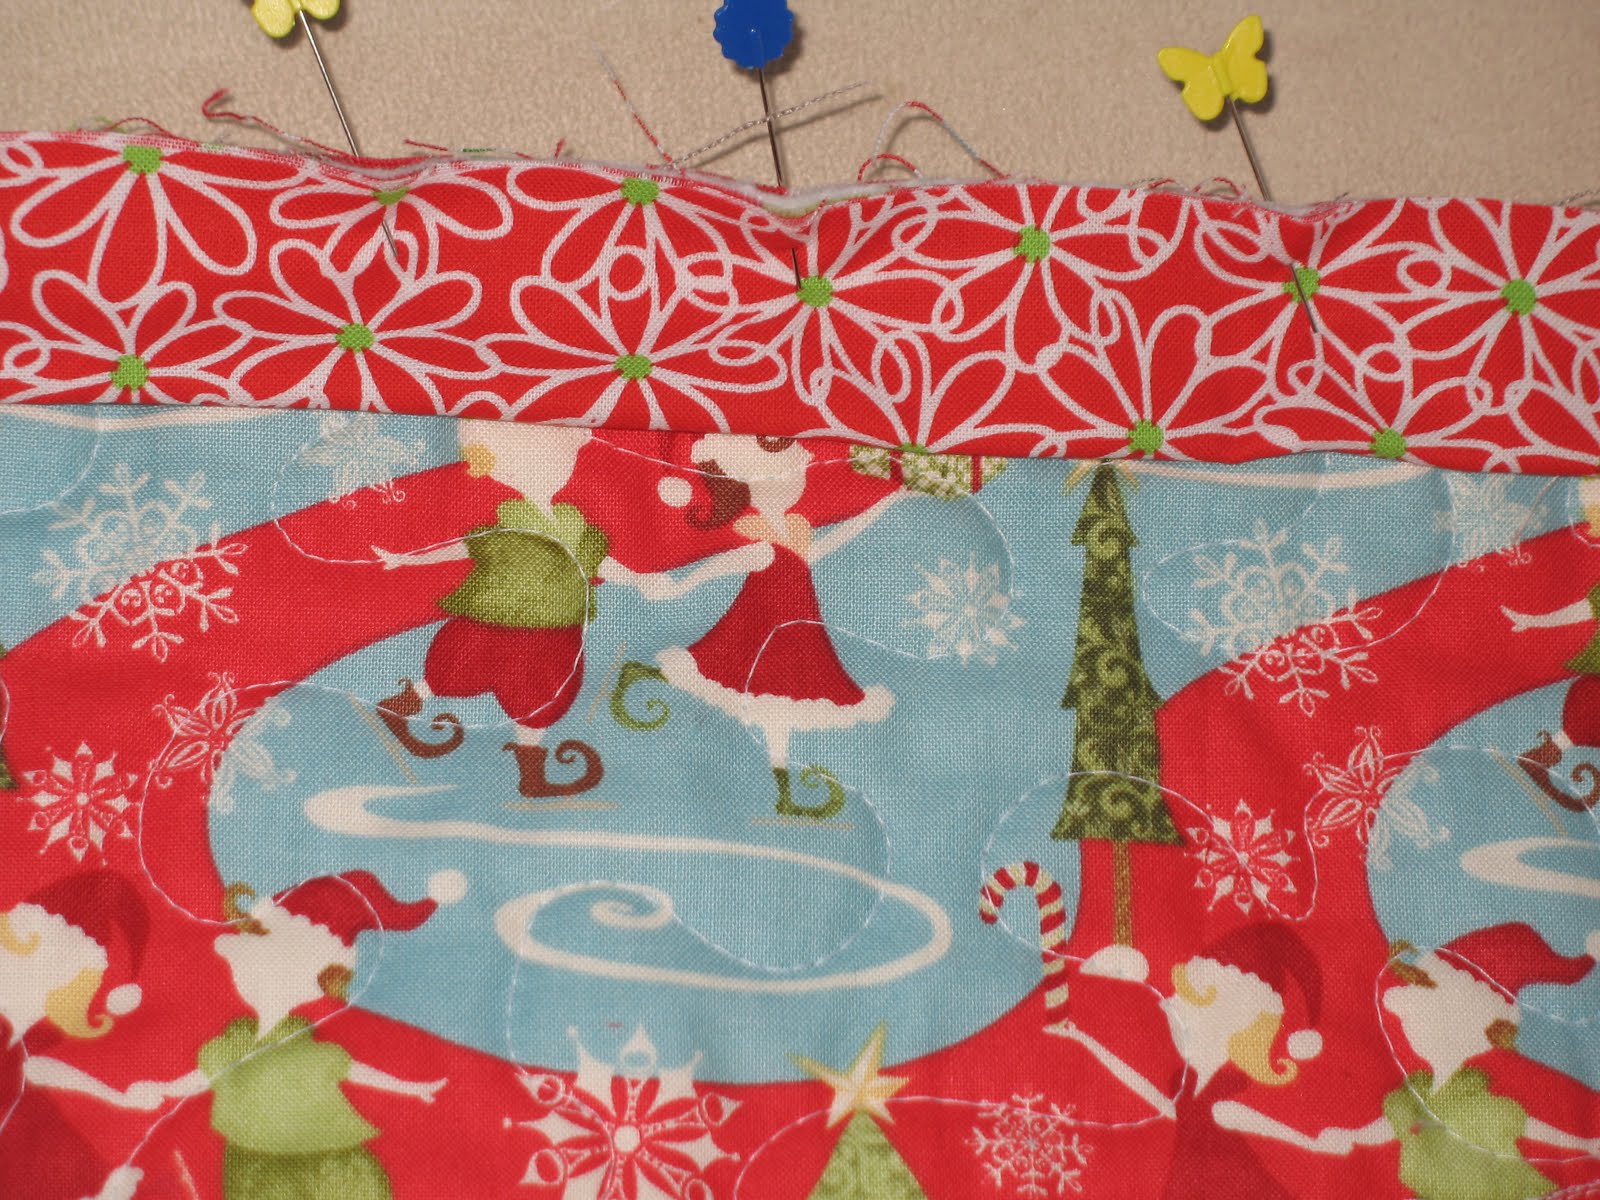
Here I have pinned closed the remaining opening . You will then stitch this opening closed using a very narrow seam.

Pop the lining inside the stocking and voila! You have completed a mini stocking!! Now do this 23 more times....!! ;)

Ok, that's it for today. Stay tuned for the finishing part of this calendar.
Stocking Advent Calendar part 2


